DIY UV DTF Gangheet: Essential Tips for Beginners
DIY UV DTF Gangheet, or Direct-to-Film printing, is revolutionizing the crafting world, allowing enthusiasts to create stunning and durable prints with ease. Utilizing advanced ultraviolet (UV) technology, this innovative approach cures UV ink immediately, ensuring that your designs are vibrant and long-lasting. Whether you’re designing custom T-shirts, personalized mugs, or unique stickers, embracing DIY printing techniques can elevate your creations to new heights. With the right transfer film and a heat press machine, even beginners can achieve professional-quality results. Discovering the ins and outs of DIY UV DTF Gangheet not only enhances your artistic abilities but also opens a realm of possibilities in custom printing applications.
The world of DIY UV DTF printing offers an exciting pathway for creatives looking to explore custom design and craftsmanship. By harnessing the power of ultraviolet light to cure ink on transfer film, this method enables the production of impressive, high-quality prints that are resistant to wear and fading. As a versatile technique, UV direct-to-film printing stands out for its ability to transfer designs onto various surfaces, ranging from textiles to hard materials. Engaging with this craft offers opportunities to experiment with UV inks and a heat press machine, ensuring that your artistic visions come to life with stunning clarity and durability. Whether you’re a beginner or an experienced crafter, delving into this innovative DIY method can truly transform your creative projects.
What is DIY UV DTF Printing?
DIY UV DTF printing, or Direct-to-Film printing using UV technology, is a revolutionary method that empowers crafters and entrepreneurs to create high-quality prints with remarkable ease. This technique utilizes specially formulated UV ink that cures instantly when exposed to ultraviolet light, enabling the creation of vibrant designs on a variety of substrates such as textiles, plastics, and metals. Unlike traditional printing methods, which often require extensive drying times, UV DTF drastically reduces production times, allowing for faster turnaround on projects.
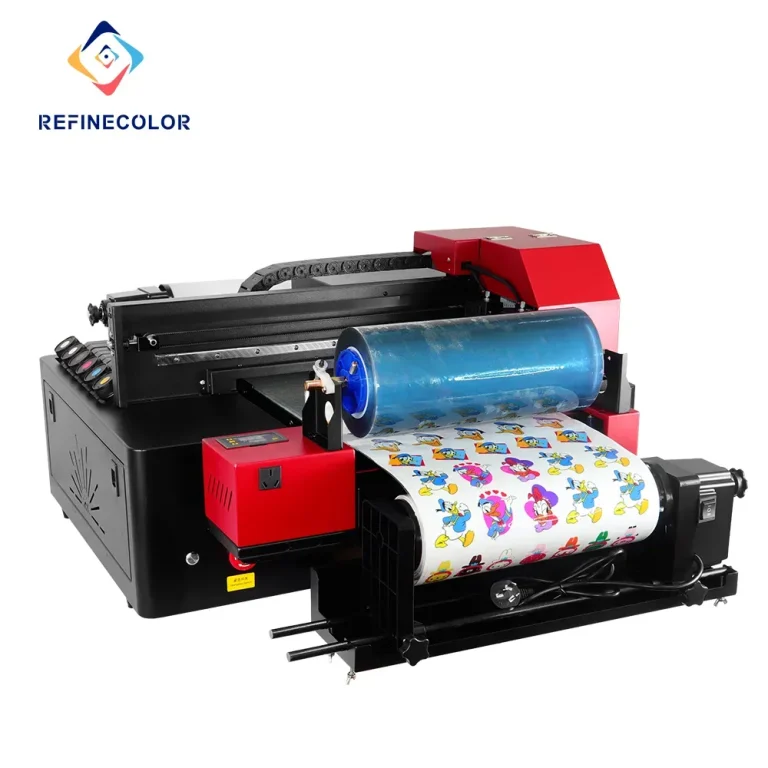
The process begins with preparing your artwork and printing it on a transfer film coated specifically for UV applications. Once printed, the film undergoes a curing process where UV light solidifies the ink, resulting in durable and vivid images that can withstand everyday use. This unique combination of speed and quality makes DIY UV DTF printing an incredibly attractive option for hobbyists and professionals alike who are looking to expand their crafting capabilities and offer custom products.
Essential Materials for DIY UV DTF Printing
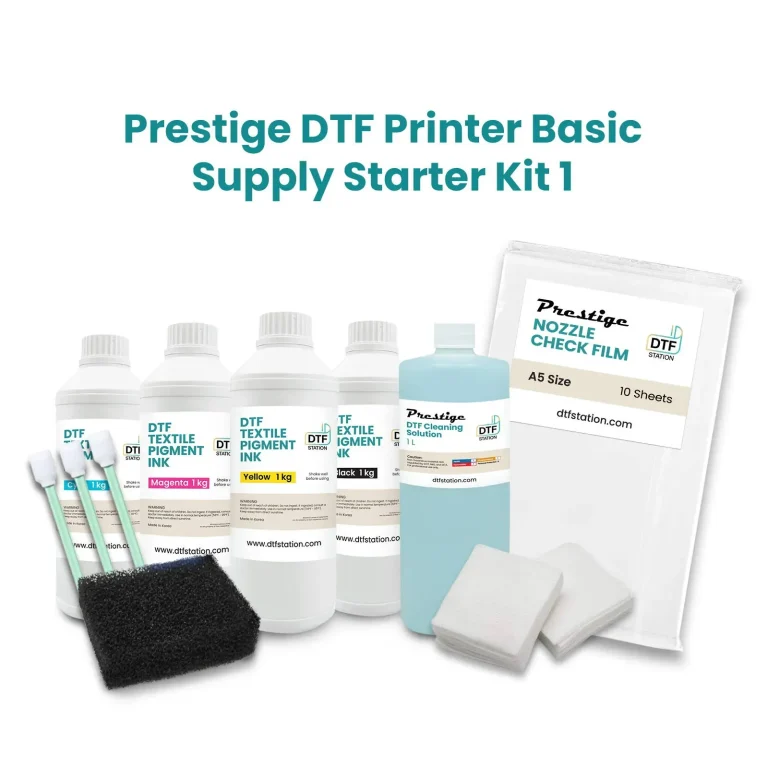
To successfully embark on your DIY UV DTF journey, certain materials are essential to achieve the best results. High-quality UV ink is paramount, as it not only impacts the vibrancy of your designs but also affects the adhesion to the transfer film. Additionally, selecting the right type of transfer film that’s designed for UV applications will ensure that the ink adheres properly and cures effectively. This makes the choice of materials a crucial step in the printing process.
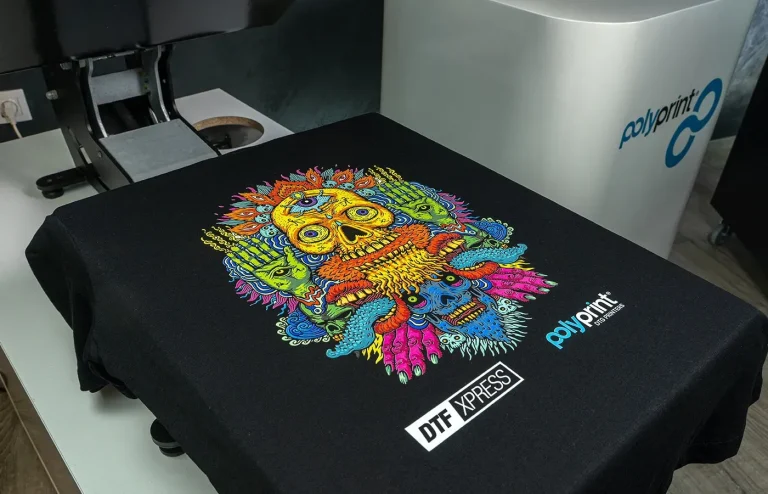
Another critical component is the heat press machine, which, while not always necessary, greatly enhances adhesion when working with fabrics. It helps ensure even distribution of heat and pressure, leading to better results. Protective tools such as gloves and masks are also recommended to safeguard against fumes and ink spills, allowing you to work safely while enjoying your crafting experience.
Setting Up Your UV DTF Printer for Success
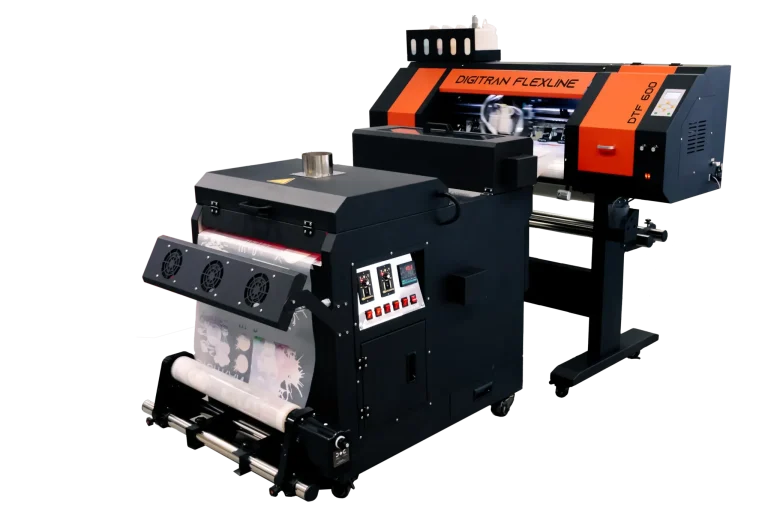
Setting up your printer for DIY UV DTF printing is essential for achieving consistent and high-quality results. Begin by ensuring that your printer is compatible with the UV ink you plan to use; certain printers are designed specifically for UV applications, which helps optimize the printing process. Regular maintenance is also key in preventing common issues such as ink clogging, which can disrupt production and diminish the quality of your prints.
Calibration is another critical aspect of printer setup. By adjusting the settings to align with the type of material and ink you are using, you can enhance color accuracy and ensure that your designs turn out just as you envisioned. Regularly checking these settings will help maintain print quality over time and reduce the likelihood of discrepancies in future projects.
Designing Stunning Artwork for UV DTF
Designing your artwork is one of the most creative and rewarding aspects of the DIY UV DTF process. Utilizing graphic design software like Adobe Illustrator or CorelDRAW, you can create intricate designs tailored to your specific needs. It’s important to remember to use the CMYK color model during your design process, as it is optimized for printing and will ensure that your colors appear vibrant and true to your vision.
Before finalizing any large print jobs, conducting test prints is highly recommended. This allows you to preview your designs on the actual substrate and make adjustments as necessary to color settings, size, or design elements. Test printing not only helps catch potential issues before mass production but also boosts your confidence in the final results.
Mastering the Curing and Application Process
After printing your design onto transfer film, the next crucial step in the DIY UV DTF process is curing. This involves exposing the printed film to UV light, which solidifies the ink and ensures it bonds securely to the substrate. Adhering to the manufacturer’s guidelines for exposure times is essential to prevent under-curing, which can lead to smudging or flaking after application.
Preparing the surface for application is equally important. Ensure that the substrate is clean, free from dust, dirt, or oils, which may hinder adhesion. Utilizing a heat press machine during this stage can help achieve better results by applying the right amount of pressure and heat, promoting better bonding between the cured print and the surface.
Troubleshooting Common UV DTF Printing Issues
As with any craft, beginners may face several challenges in their DIY UV DTF printing journey. One common issue is ink smudging, which can often be traced back to improper curing. If the ink doesn’t receive adequate exposure to UV light, it may not cure properly, leading to smudged prints. If this occurs, revisit the manufacturer’s recommendations and adjust your exposure times to achieve better results. Regular calibration of your printer settings will also mitigate this issue.
Another frequent challenge is poor adhesion, which often results from inadequate surface preparation or insufficient curing of the print. To troubleshoot, ensure that your substrate is meticulously cleaned prior to printing and that your prints are fully cured before application. By addressing these common issues, you can improve the quality and longevity of your DIY UV DTF projects.
Frequently Asked Questions
What is DIY UV DTF Gangheet and how does it work?
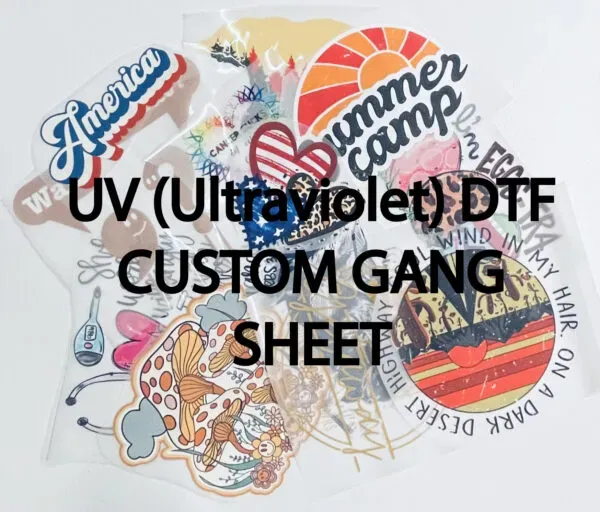
DIY UV DTF Gangheet stands for Direct-to-Film printing using ultraviolet light. This method allows for immediate curing of UV ink on a transfer film, creating vibrant and durable designs. The process involves printing your design onto a specialized transfer film, which is then cured with UV light to set the ink, making it suitable for various surfaces.
What materials are essential for DIY UV DTF printing?
To start with DIY UV DTF printing, you’ll need high-quality UV ink, specialized transfer film designed for UV applications, a compatible printer, and preferably a heat press machine to enhance adhesion. Additionally, protective gear like gloves and masks is recommended to ensure safety while handling inks.
Can I use any type of printer for DIY UV DTF Gangheet projects?
No, not all printers are compatible with DIY UV DTF Gangheet projects. You will need a printer that supports UV ink and is designed for Direct-to-Film printing. It’s crucial to verify the printer’s specifications before purchasing to ensure optimal results.
How do I ensure successful adhesion of prints during the transfer process in DIY UV DTF?
To ensure successful adhesion during DIY UV DTF transfers, make sure the surface you are applying the print to is clean and free from dust or oils. Additionally, using a heat press machine can help secure the transfer by providing even heat and pressure, enhancing the bond between the print and the material.
What troubleshooting tips can help with common issues in DIY UV DTF printing?
Common issues in DIY UV DTF printing include ink smudging from improper curing and poor adhesion due to unclean surfaces. To troubleshoot, check the UV light exposure time to ensure proper curing and ensure that surfaces are clean before transferring. Regular maintenance of the printer can also prevent ink-related issues.
Are there specific design software recommendations for creating artwork for DIY UV DTF Gangheet?
Yes, for designing artwork for DIY UV DTF Gangheet, software like Adobe Illustrator or CorelDRAW is recommended. These programs allow for intricate designs and ensure that the artwork is formatted correctly in the CMYK color model, which is essential for high-quality prints.
| Key Point | Details |
|---|---|
| Overview of UV DTF Printing | A method utilizing ultraviolet light for quick ink curing, making vibrant and durable prints. |
| Benefits | Includes vibrant colors, durability, and versatility for various materials. |
| Materials Required | Essential items include high-quality UV ink, transfer film, a compatible printer, and protective tools. |
| Printer Setup | Key steps include compatibility checks, maintenance, and calibration for optimal print results. |
| Designing Artwork | Use graphic design software and test prints to ensure quality and accuracy in design. |
| Curing Process | Follow recommended exposure times for proper curing and ensure surfaces are prepared. |
| Troubleshooting Tips | Solutions for common issues like ink smudging, poor adhesion, and color discrepancies. |
Summary
DIY UV DTF Gangheet represents an innovative approach to printing, allowing enthusiasts to create vibrant prints with professional durability. By mastering the essential techniques and understanding the necessary materials, beginners can excel in this exciting craft. This method not only assures stunning color saturation but also broadens the possibilities of transferring designs onto various materials like textiles and hard surfaces. The road to perfection in DIY UV DTF printing is paved with practice, creativity, and a willingness to experiment, ensuring that your projects stand out as unique and visually striking.