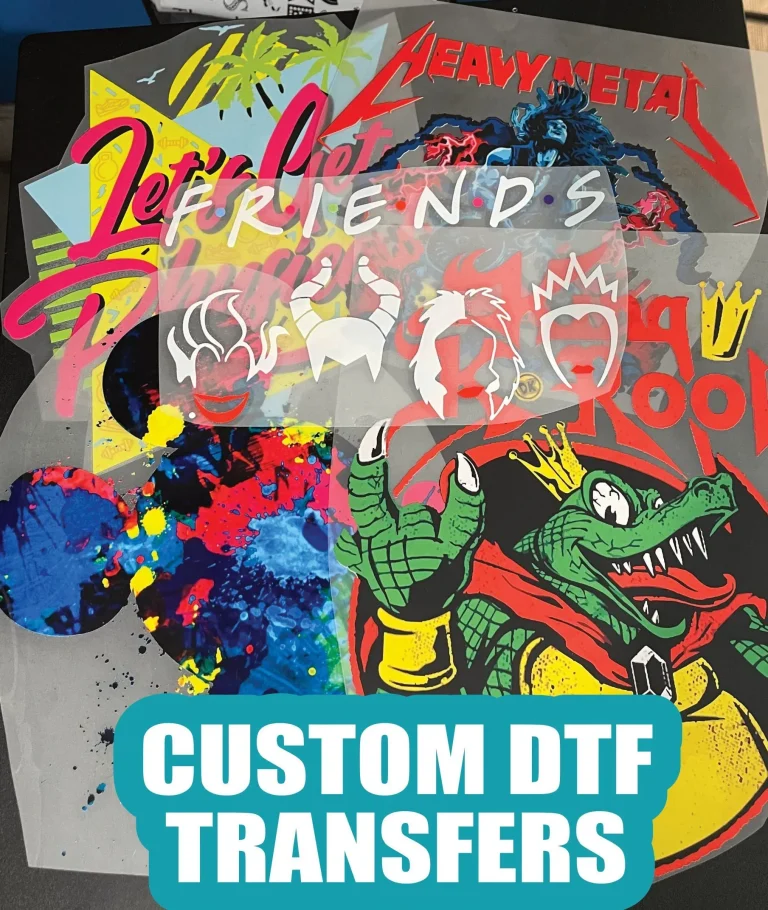
DTF Transfers: How to Apply Like a Pro – Step-by-Step
DTF transfers unlock vibrant, durable designs for garments across a broad range of fabrics. This guide outlines the DTF transfer application with practical, field-tested steps that simplify production. You’ll learn how to apply DTF transfers with clear, practical steps that cover prep, printing, powdering, and curing. From choosing materials to mastering DTF printing steps, this overview gives you a repeatable workflow for consistent, high-quality results. Whether you’re a hobbyist or professional printer, you’ll gain confidence in adhesion, color fidelity, and wash durability with every project.
In other words, this technology uses a printed graphic on a film, a bonding powder, and a heat press to attach designs, providing a flexible approach to garment decoration. Seen through an educational lens, the technique blends artful color with robust durability on a variety of fabrics. Related terms you may encounter include film-based apparel graphics, heat-transfer films, and adhesive-coated prints used with modern presses. Understanding these concepts helps you compare methods and choose the right workflow for cotton, blends, or polyester.
DTF transfers: How to Apply DTF Transfers for Vibrant, Durable Garments
DTF transfers offer a versatile way to decorate a wide range of fabrics with bright, lasting imagery. Understanding the DTF transfer application process helps you achieve consistent results without the complexity of traditional screen printing. In this guide, we’ll cover essential prep, film selection, and a repeatable workflow so you can consistently hit color, edge detail, and wash durability.
To learn how to apply DTF transfers, begin with a clean design workflow: ensure correct orientation since DTF prints face the fabric without mirroring, print with appropriate color management on the transfer film, and allow the film to dry per supplier guidance to prevent smudging. Then move through powder coating and curing, pre-press the garment, and set up the heat press with even pressure to achieve crisp edges and a smooth surface.
Direct-to-Film Printing Tutorial: DTF Printing and Pressing Steps for Consistent Results
A direct-to-film transfer tutorial approach helps you visualize the entire workflow—from artwork preparation and color management to powder application and curing—so you can replicate reliable results. This section covers the DTF printing steps, including selecting compatible transfer film, calibrating your printer, and mounting the film for uniform results during the powder stage.
Next come the DTF printing and pressing steps: apply heat with careful temperature control, typically around 160-170°C, and use even pressure for the recommended time. A controlled peel (hot, warm, or cold depending on the film) and a finishing press ensure adhesion at the edges, followed by proper post-press care to maximize wash durability.
Frequently Asked Questions
What is the best practice for a DTF transfer application to ensure strong adhesion and color accuracy across fabrics?
Follow a repeatable DTF transfers workflow: prep the garment and test swatches, print with color-calibrated DTF film, powder coat and cure as instructed, pre-press the fabric, and press at 160–170°C (320–338°F) with 40–60 psi for 12–15 seconds. Perform a controlled peel per your film’s guidance, then finish with a short post-press if recommended. Finally, let the garment cool and follow care instructions (inside-out washing, gentle cycles) to maintain adhesion and color.
In a direct-to-film transfer tutorial, what are the key DTF printing steps and DTF printing and pressing steps to achieve professional results?
A direct-to-film transfer tutorial typically covers design preparation and printing on the transfer film with proper color management and orientation (no mirror for DTF), followed by powder coating and curing. The DTF printing and pressing steps then include pre-pressing the garment, aligning the transfer, pressing at about 160–170°C (320–338°F) with 40–60 psi for 12–15 seconds, performing a controlled peel (hot or cold as recommended), and a finishing press if advised, plus post-press care and wash guidelines. It may also address fabric compatibility and common troubleshooting.
| Topic | Key Points |
|---|---|
| Introduction |
|
| What you’ll gain from this tutorial |
|
| Understanding the basics: what DTF transfers are |
|
| What you need for successful DTF transfer application |
|
| Step-by-step: how to apply DTF transfers like a pro |
|
| Common mistakes to avoid during DTF transfer application |
|
| Fabric compatibility and design considerations |
|
| Tips for achieving pro-level results |
|
| Troubleshooting quick-reference |
|
| FAQs and optimization ideas |
|
Summary
DTF transfers unlock versatile, durable designs across a broad range of fabrics, enabling you to decorate merchandise with vibrant, long-lasting results. By following the step-by-step workflow—from print prep and powder curing to precise heat pressing and peel timing, you can achieve professional results consistently. This guide provides practical steps, troubleshooting tips, and fabric-specific advice to help small businesses, hobbyists, and professional printers expand their decorating capabilities and deliver reliable results with every project.